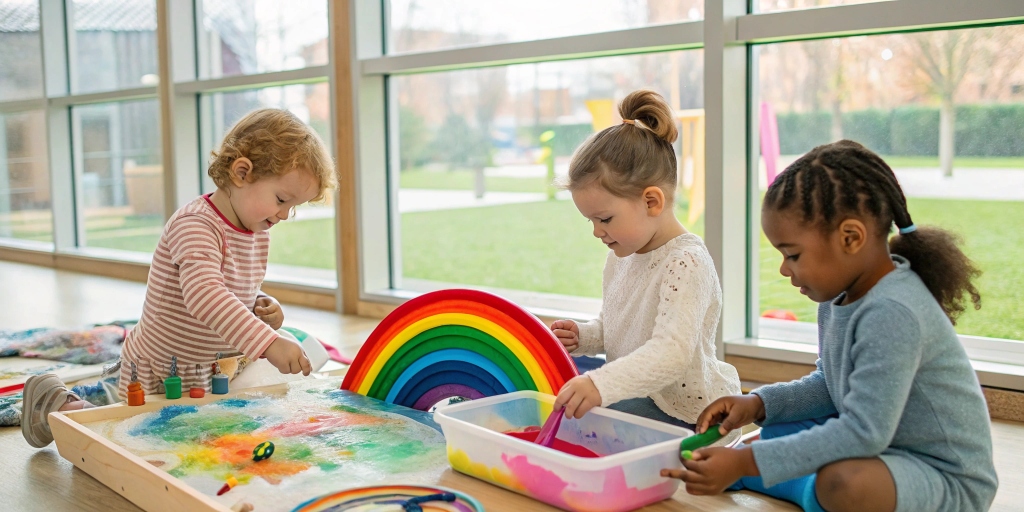
Tables are one of the most important pieces of furniture in the house . In it, children can eat, play, study, meet their parents. Their most popular form are round, square and rectangular. It is the most basic and really are not so difficult to do.
With a little time, the materials, the tools indicated and the desire, we can make a very basic wooden table for children that fits each of the pieces that form it. From here, you can change the measurements, the shape, decorate it as you prefer, using darker wood.
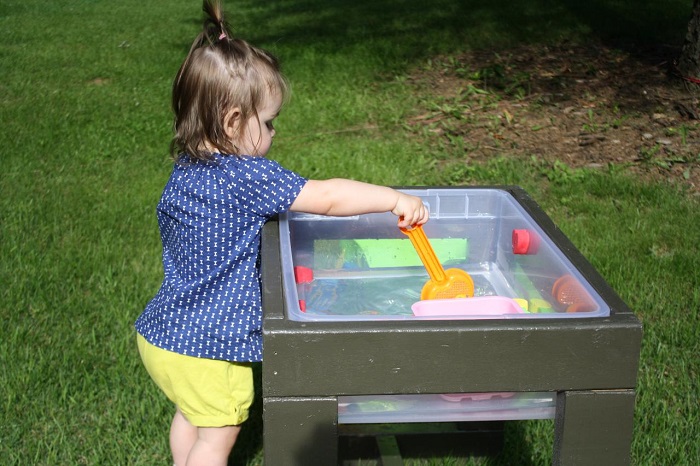
The water table for kids has a measure of 77 cm long x 55 cm wide, its cover will be dm without plasticizing 19 mm and the legs obtained from a pallet with a dimension of 45 × 45 mm, while the height of it will be of 50 cms.

Materials needed water table for kids
- 19mm unplastified mdf wood board
- Wooden slats taken from a pallet with the following dimensions: 45 × 45 mm
- Nails
- Glue for carpentry
- 6 x 30mm wooden dowels
- Water paint for wood in white
- Water paint for wood in blue color
- Sealer for wood
Tools
- Drill driver
- Column drill (optional)
- Electric milling machine
- Sliding table saw (optional)
- Electric planer
- Belt sander
- Hand sanders or electric sander
- Jigsaw
- Carpenter’s hammer
- Pencil
- Universal bracket
- Meter
- Woodworking sergeants
- 6 mm diameter wood drill bits
Fabrication process
Before I begin to make water table for kids, I must say that I am lucky to be able to use professional woodworking machinery for this project. But it is not necessary to have such machinery to carry out many of the wooden projects that I do, such as the children’s wooden table .
In case of not having specialized machinery, which is usual, the slats and the mdf board do not cut it for a little more money in our wood distributor. We should only be clear about the cutting measures.

Let’s start:
1. We obtain the wood by two totally different means: on the one hand, the slats are obtained from a pallet, and they will be the legs of the table, while the rest we remove from a panel in unmodified wood that we bought.
2. We cut the wooden slats to the measure that interests us, in addition to cutting the cover of the wooden board in mdf.
3. Then we brush the wooden strips obtained from the pallet. With brushing we can reduce the wood to the size we want.
4. Next, we mill the edges or edges of the cover and the legs to reduce the edges.
5. Cut the reinforcements with the help of the squad.
6. We present the table legs on the deck along with the reinforcements we have just cut to see how we are doing.
7. We sand all the wood with the help of a belt sander first, and then with a finer sandpaper and by hand.
8. We continue with the legs of the table, we mark with the help of a pencil, a meter and a square to later open the holes where the dowels will be housed for the union of each of the parts that will form the structure. The dowels I have placed a measure of 1.5 and 3.5 cm from the top of the legs. Likewise and to the same extent we mark and drill the reinforcements so that they later coincide when it is assembled.
9. We will make the holes with the help of a drill press, except the reinforcing woods that we will use a drill and freehand.
A trick: to pierce the reinforcing woods and prevent them from cracking (since it is wood in mdf), we will use two pieces of wood and a sergeant, placing the reinforcing wood in the middle as a sandwich.
10. With the help of the tail, we insert the tap into the holes, hammering it so that half of it enters each part to join.
11. We join all the wooden reinforcements, we glue them and with the help of a sergeant we leave it the time suggested by the manufacturer of the glue.
12. We put some wooden squares inside the table to square the table and nail it to hold it.
13. Once everything is assembled, we start with the decoration part. We give a sealant in the background, then we have decided to paint the top board in blue and the legs and reinforcements in white. We give him two hands and finished work.